This post will guide you how to center an image file in an excel cell. And how do I center to align a graphic in an excel cell. How to align a picture within a cell. How to align a picture to the center of a cell with VBA code in excel.
Table of Contents
1. Center an Image in an Excel Cell
To quickly center an image in an excel cell, you can create an excel VBA macro to achieve the result. Just do the following steps:
Step1: import one picture into the current worksheet.
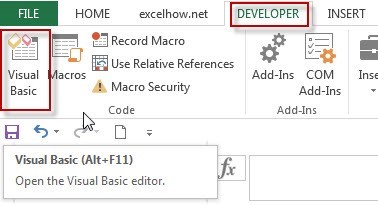
Step2: click on “Visual Basic” command under DEVELOPER Tab, or just press “ALT+F11” shortcut.
Step3: then the “Visual Basic Editor” window will appear.
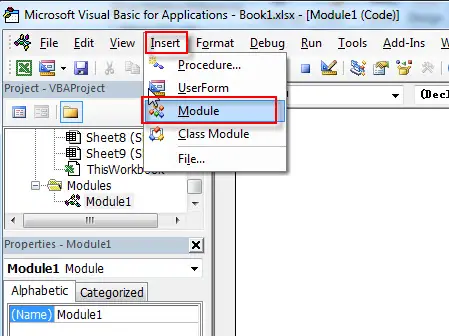
Step4: click “Insert” ->”Module” to create a new module
Step5: paste the below VBA code into the code window. Then clicking “Save” button.
Sub CenterImages()
     With ActiveSheet.Shapes("Picture 1")
         .Top = Range("B1").Top + (Range("B1").Height - .Height) / 2
         .Left = Range("B1").Left + (Range("B1").Width - .Width) / 2
    End With
End Sub
Note: this code is specific to the “Picture 1” shape on the active sheet, and if you have multiple images or if the image name is different, you will need to modify the code accordingly to target the correct image.
Step6: back to the current worksheet, then run the above excel macro. Click Run button.
Step7: Let’s see the result.
2. Video: Center an Image in an Excel Cell
This video will show you how to center an image in an Excel cell using VBA code.
3. Conclusion
Centering an image in an Excel cell can enhance the presentation of the data and make the spreadsheet more visually appealing, and can be achieved through various methods, including manual adjustment or by using VBA code to automate the process.
Leave a Reply
You must be logged in to post a comment.