This post will guide you on how to set specific cells as read-only or locked using Protect Sheet feature and vba code in Microsoft Excel 2013/2016/2019/365.
In our daily work, in case of protect our worksheet from being edit by others, we often add a password for opening worksheet. But sometimes, the worksheet is open for all or shared with your partners, we just want to set some important cells as read only in case of preventing others to edit them in worksheet, for example we need to set some cells with formulas or salaries as read only in payroll, how can we do? This article will help you to make your specific cells as read only.
Table of Contents
1. Lock Specific Cells in Worksheet by Format Cells Settings
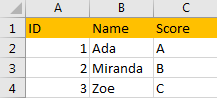
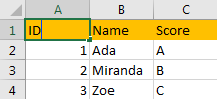
Prepare a table with ID, Name, Score three columns. And we want to make some cells in this table cannot be editable by others.
A simple table for demonstration in this article:
Step1: Press Ctrl+A to select the whole worksheet. You can also click on the arrow ![]() to select whole cells on current worksheet, see screenshot below.
to select whole cells on current worksheet, see screenshot below.
Step2: On worksheet anywhere, right click to load menu, select Format Cells. You can also load Format Cells window by press Ctrl+1.
Step3: Format Cells window is loaded properly.
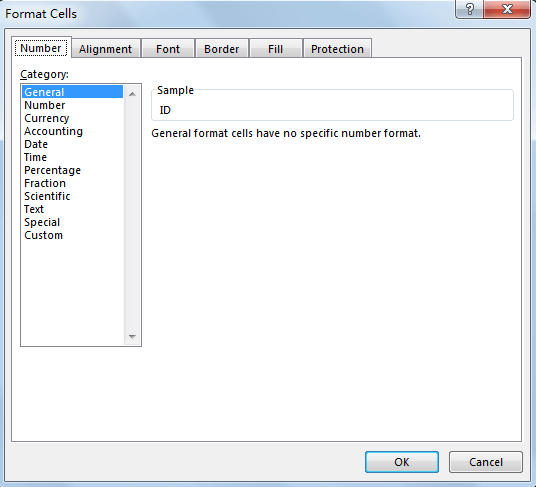
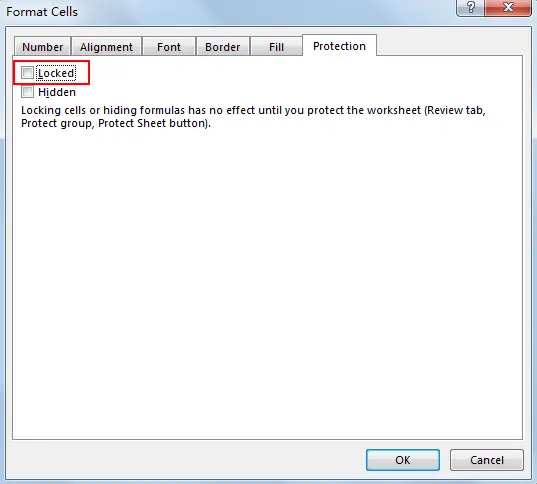
Step4: Click on Protection, there are two options, Locked and Hidden, Locked option is checked by default. Uncheck Locked option, then click OK.
Notes:
a. You can see the comments under the option that locked or hidden options only take effective once protect the worksheet is enabled. So, we need to protect the worksheet then.
b. If we don’t uncheck Locked option first, and directly protect worksheet by password, then the whole worksheet will be locked. So this step is to make sure that only the selected range will be locked, please see the following step.
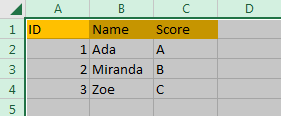
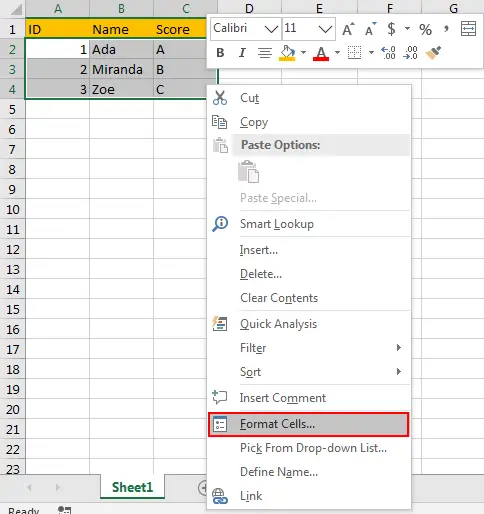
Step5: Select the range you want to make them as Read Only, for example select A2:C4. Right click to load menu, select Format Cells again.
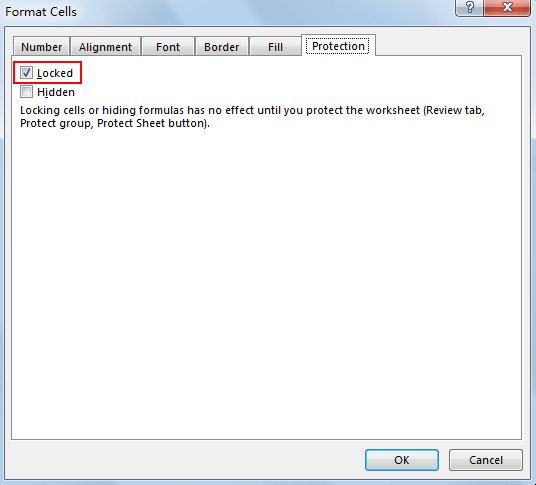
Step6: This time, enter Protection tab, check on the Locked option, then click OK.
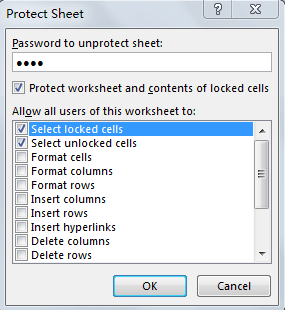
Step7: Click Review->Protect Sheet.

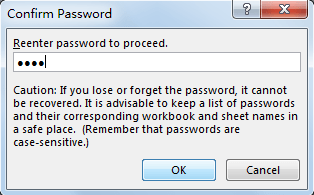
Step8: In Protect Sheet window, “Protect worksheet and contents of locked cells”, “Select locked cells” and “Select unlocked cells” are checked by default. Enter password in textbox and click OK, re-enter and confirm password again, then click OK.
Enter password:
Confirm password:
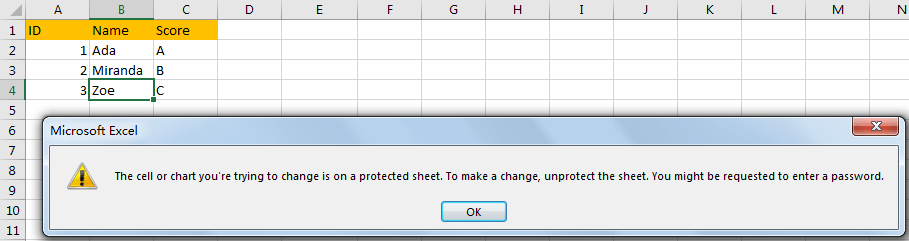
Step9: Try to edit the table. Verify that below error message pops up.
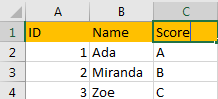
Step10: Click A3. Verify that user still can edit it due to it is not locked.
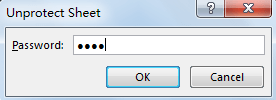
Step11: If we want edit the locked cells, please click on Review->Unprotect Sheet. Unprotect Sheet pops up.

Step12: Enter the password. Click OK. Now you can edit specific locked cells normally again.
2. Lock Specific Cells in Worksheet by VBA
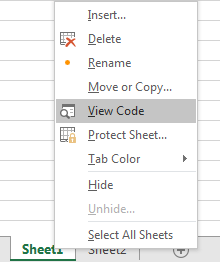
Step1: Right click on Sheet1 to load Sheet management menu. Select View Code, Microsoft Visual Basic for Applications window pops up.
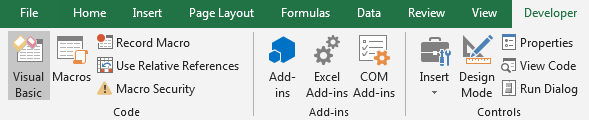
Or you can enter Microsoft Visual Basic for Applications window via Developer->Visual Basic.
Step2: In Microsoft Visual Basic for Applications window, click on Sheet1, enter below code:
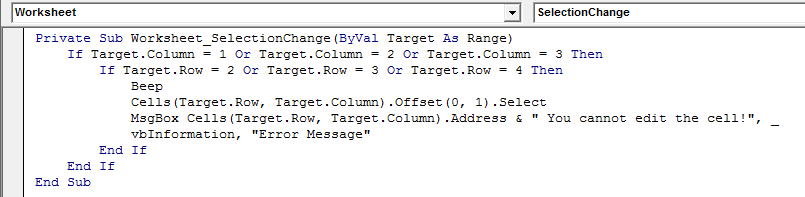
Private Sub Worksheet_SelectionChange(ByVal Target As Range)
    If Target.Column = 1 Or Target.Column = 2 Or Target.Column = 3 Then
        If Target.Row = 2 Or Target.Row = 3 Or Target.Row = 4 Then
            Beep
            Cells(Target.Row, Target.Column).Offset(0, 1).Select
            MsgBox Cells(Target.Row, Target.Column).Address & " You cannot edit the cell!", _vbInformation, "Error Message"
        End If
    End If
End Sub
Comments:
a. In above script, Target.Column and Target.Row define the range will be locked. In this case, column 1,2,3 (A, B, C) and row 2,3,4 are included, that means range A2:C4 is selected and locked.
b. “You cannot edit the cell!” is the message pops up when user clicking on locked cell. “Error Message” is the header for pops up error message. You can replace them.
Step3: Save the codes, see screenshot below. And then quit Microsoft Visual Basic for Applications.
Step4: Try to edit the locked range A2:C4. Below error message pops up.

Step5: Try to edit A1 which is not locked. Verify that user still can edit A1 properly. User can also edit other unlocked cells as well.
3. Video: Set Specific Cells as Read Only/Locked in Excel
This Video will show yo how to set specific cells as red-only or locked in Excel using Protect Sheet feature and VBA Code.
4. SAMPLE Files
Below are sample files in Microsoft Excel that you can download for reference if you wish.
5. Conclusion
Excel provides users with the ability to protect their worksheets and workbooks to prevent unauthorized changes. By default, all cells in a worksheet are editable, but you can restrict access to specific cells to maintain data integrity and prevent accidental changes. In this guide, you can set specific cells as read-only or locked, and ensure that only authorized users can modify them.