This post will guide you how protect worksheet’s formatting only in Excel 2013/2016/2019. How do I only protect cell formatting but allow data entry in Excel.
Table of Contents
1. Protect Worksheet’s Format
You maybe know that how to protect the contents of a worksheet by protecting cells in your current worksheet. And you maybe wish to know that if there is a good way to protect only the format of the selected range of cells in your worksheet and allow to the worksheet’s content change.
You can do the following steps to easily protect the formatting of the selected range only, without regarding for the contents of the selected range:
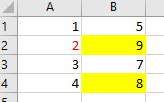
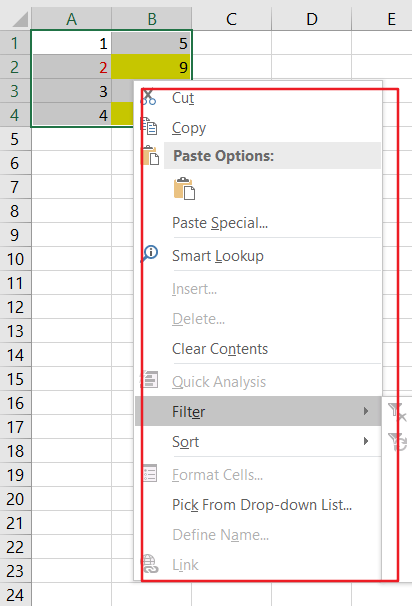
Step1: select the range of cells that you want to protect format, such as: A1:B4.
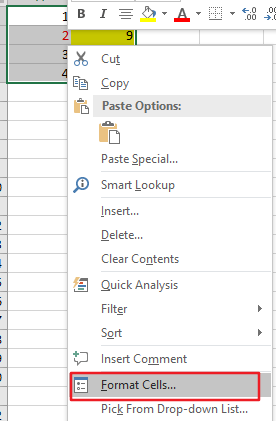
Step2: right click on the selected range of cells and choose Format Cells menu from the popup menu list. And the Format Cells dialog box will open.
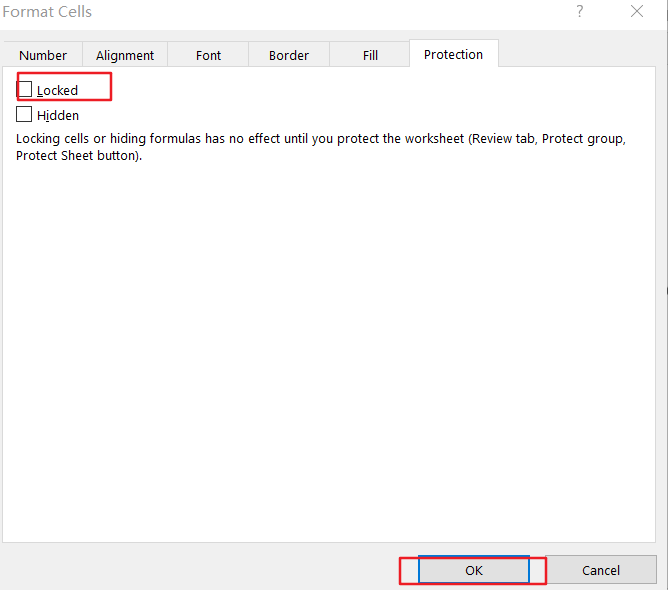
Step3: switch to Protection tab in the Format Cells dialog box, and uncheck the Locked option, and then click Ok button to apply the above change.
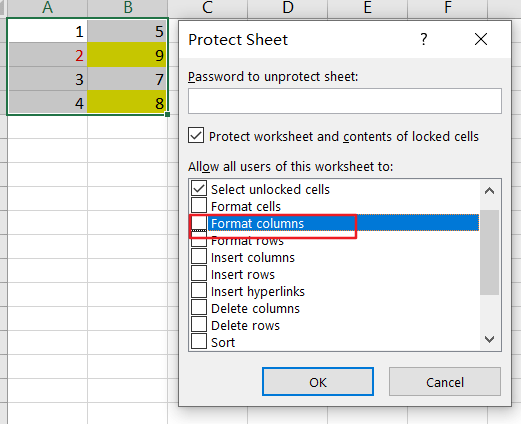
Step4: go to REVIEW tab in the Excel Ribbon, and click Protect Sheet button on the Protect group. And the Protect Sheet dialog box will appear.

Step5: Make sure that Format Cells check box in Protect Sheet dialog box is not selected. And You do not need to enter a password, just click on Ok button. Note: if you want to set a password to protect the worksheet, just enter the password in the Password text box as you need.
Step6: you can try to change the formatting of the selected cells, you would see that you can not do anything. But you can change the contents of the selected cells.
2. Video: Protect Worksheet’s Format
In this video, we’ll unveil a powerful technique by utilizing the Protection tab in the Format Cells dialog in Excel 2013/2016/2019.
Leave a Reply
You must be logged in to post a comment.