Sometimes we need to insert a page break to separate two different tables or make one table splits apart for printing. Otherwise excel will print worksheet by its automatic page breaks or paper size etc. To print worksheet depends on our settings, we can manually insert page breaks, we can also insert page breaks by every x rows in excel. This tutorial will introduce the way of inserting a page break and the way of inserting them by every x rows.
Table of Contents
1. Insert A Page Break in Excel
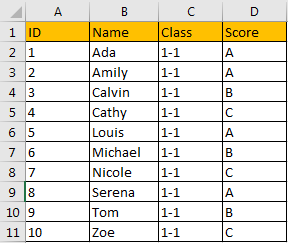
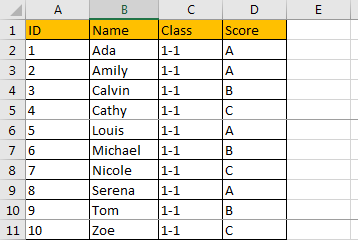
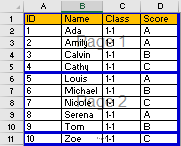
Please see table below:
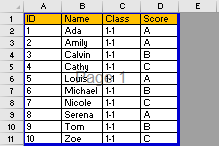
Step1: Click View in ribbon, then in Workbook Views group, click Page Break Preview to switch view mode.

Only watermark page 1 is displayed.
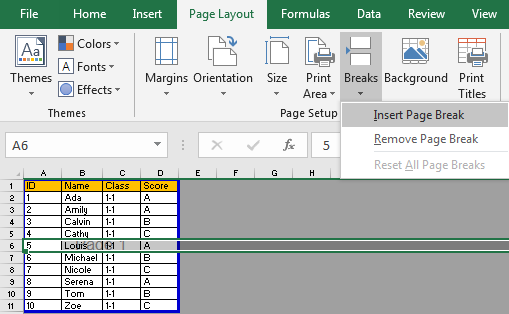
Step2: Select a row you want to divide it apart from above table. For example, select row 6, then click Page Layout, in Page Setup group, click Breaks->Insert Page Break. We can also select column to separate tables into two parts.
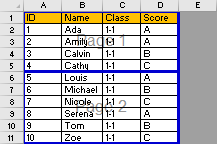
Step 3: After above step, you may find that table is separated to two parts by a solid line. And watermark page 1 and page 2 are displayed. Then when printing this worksheet, two pages will be printed out.
2. Insert Page Breaks by Every X Rows in Excel
We can manually insert pages breaks as many as we want, but if we want to separate worksheet by x rows, we can use VBA code to make it convenient.
Step1: On current visible worksheet, right click on sheet name tab to load Sheet management menu. Select View Code, Microsoft Visual Basic for Applications window pops up.
Or you can enter Microsoft Visual Basic for Applications window via Developer->Visual Basic. You can also press Alt + F11 keys simultaneously to open it.
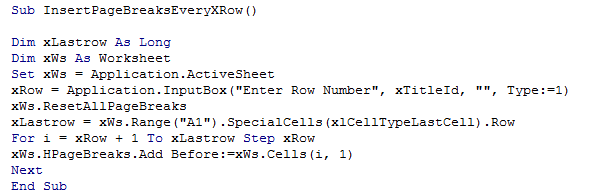
Step2: In Microsoft Visual Basic for Applications window, click Insert->Module, enter below code in Module:
Sub InsertPageBreaksEveryXRow()
Dim xLastrow As Long
Dim xWs As Worksheet
Set xWs = Application.ActiveSheet
xRow = Application.InputBox("Enter Row Number", xTitleId, "", Type:=1)
xWs.ResetAllPageBreaks
xLastrow = xWs.Range("A1").SpecialCells(xlCellTypeLastCell).Row
For i = xRow + 1 To xLastrow Step xRow
xWs.HPageBreaks.Add Before:=xWs.Cells(i, 1)
Next
End Sub
Step3: Save the codes, see screenshot below. And then quit Microsoft Visual Basic for Applications.
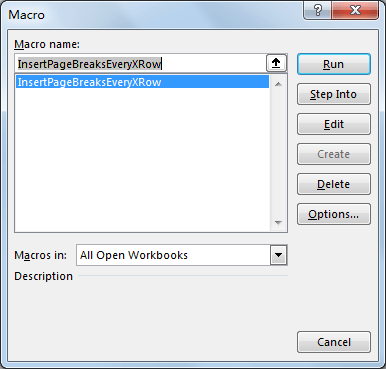
Step4: Click Developer->Macros to run Macro. Select ‘InsertPageBreaksEveryXRows’ and click Run.
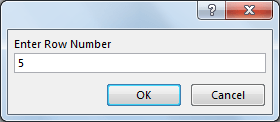
Step5: Enter Row Number dialog pops up. Enter 5 for example.
Step6: Click OK and check the result. Verify that page break lines are displayed in grey color.
Step7: Check worksheet in Page Break Preview. Verify that table is separated to three pages (page 3 is so small and hart to see clearly).
3. Video: Insert Page Breaks
This Excel video tutorial, we’ll explore two methods for inserting page breaks to optimize your document layout. We’ll start with the ‘Page Break Preview’ command for a straightforward approach, followed by a more advanced method using VBA code to insert page breaks at specific intervals.